- By Yodelay Construction
- In Flooring, Tiling
- Tags Flooring, Laminate
Installation Of Click Laminate Flooring
Installing click laminate flooring can be a rewarding DIY project that enhances the aesthetics of your space. Here, we outline the steps for a successful installation, and remember, Yodelay Construction is here to assist if needed.
“The best way to predict the future is to create it.” – Peter Drucker
Gather Your Tools
Before you begin, ensure you have the necessary tools and materials, including laminate flooring planks, underlayment, spacers, a saw, a tapping block, and a hammer.
Prepare the Subfloor
Carefully prepare the subfloor by cleaning it thoroughly and ensuring it’s level and dry. Install the underlayment to provide a stable base for your laminate flooring.
Begin Installation
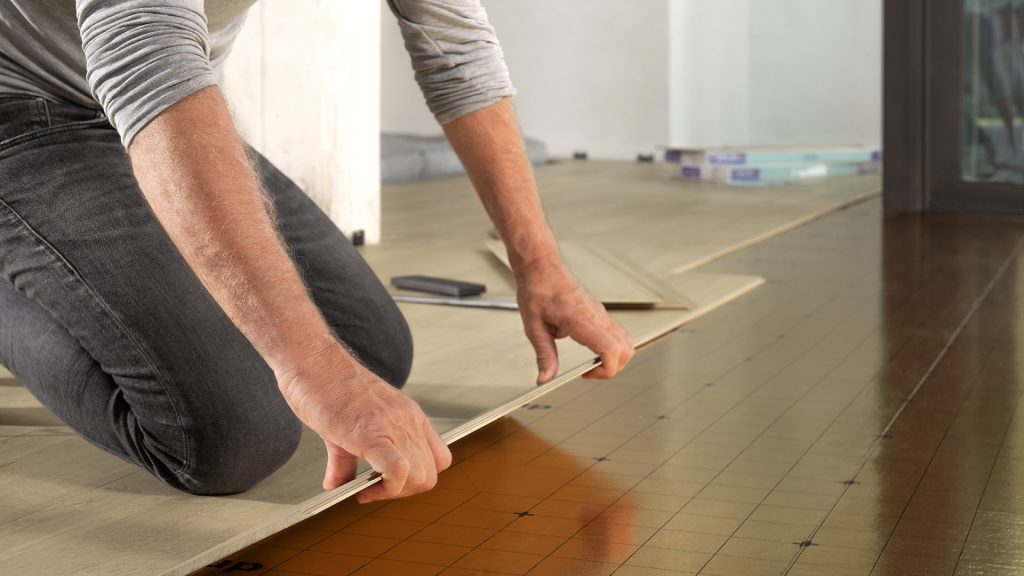
Start laying the planks along the longest wall in your room. Use spacers to maintain an expansion gap around the edges. Click the planks together, ensuring a snug fit.
Cut and Adjust
As you reach the end of a row, measure and cut planks to fit. Use a tapping block and hammer to ensure a secure connection between planks.
Continue Rows
Continue installing rows of laminate flooring, staggering the joints for a natural appearance. Be meticulous with your measurements and cuts.
Final Row and Finishing Touches
For the final row, you may need to trim the planks to fit. Once the flooring is in place, remove spacers, and install baseboards and transitions to complete the look.
With these steps, you can achieve a successful click laminate flooring installation. However, if you prefer professional assistance or encounter any challenges, Yodelay Construction is here to help. Our expertise and commitment to quality ensure that your flooring project is executed to perfection.


